Color Coding Appointments
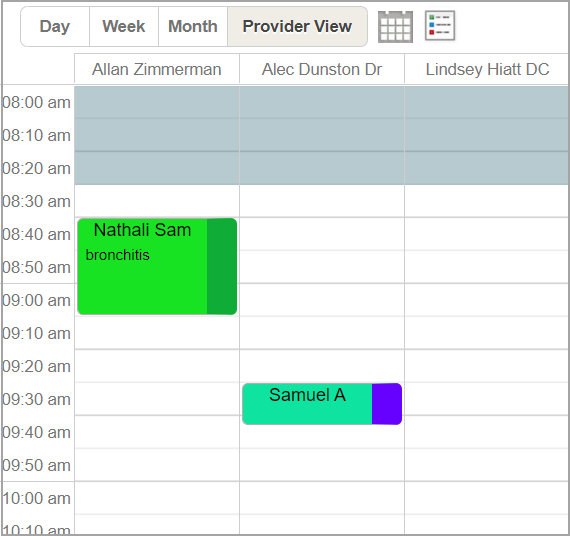
Appointments are displayed using a dual-color format to visually represent both their status and type. This allows users to quickly identify key details at a glance.
The primary color shown in the appointment slot is based on the default selection made in the Scheduler setup—either status or type. This primary color occupies the majority of the slot. The secondary color appears as a smaller bar on the right edge of the slot. If no color is configured for the secondary field, the appointment will display in a single color.
Steps to Color the Appointment Slot
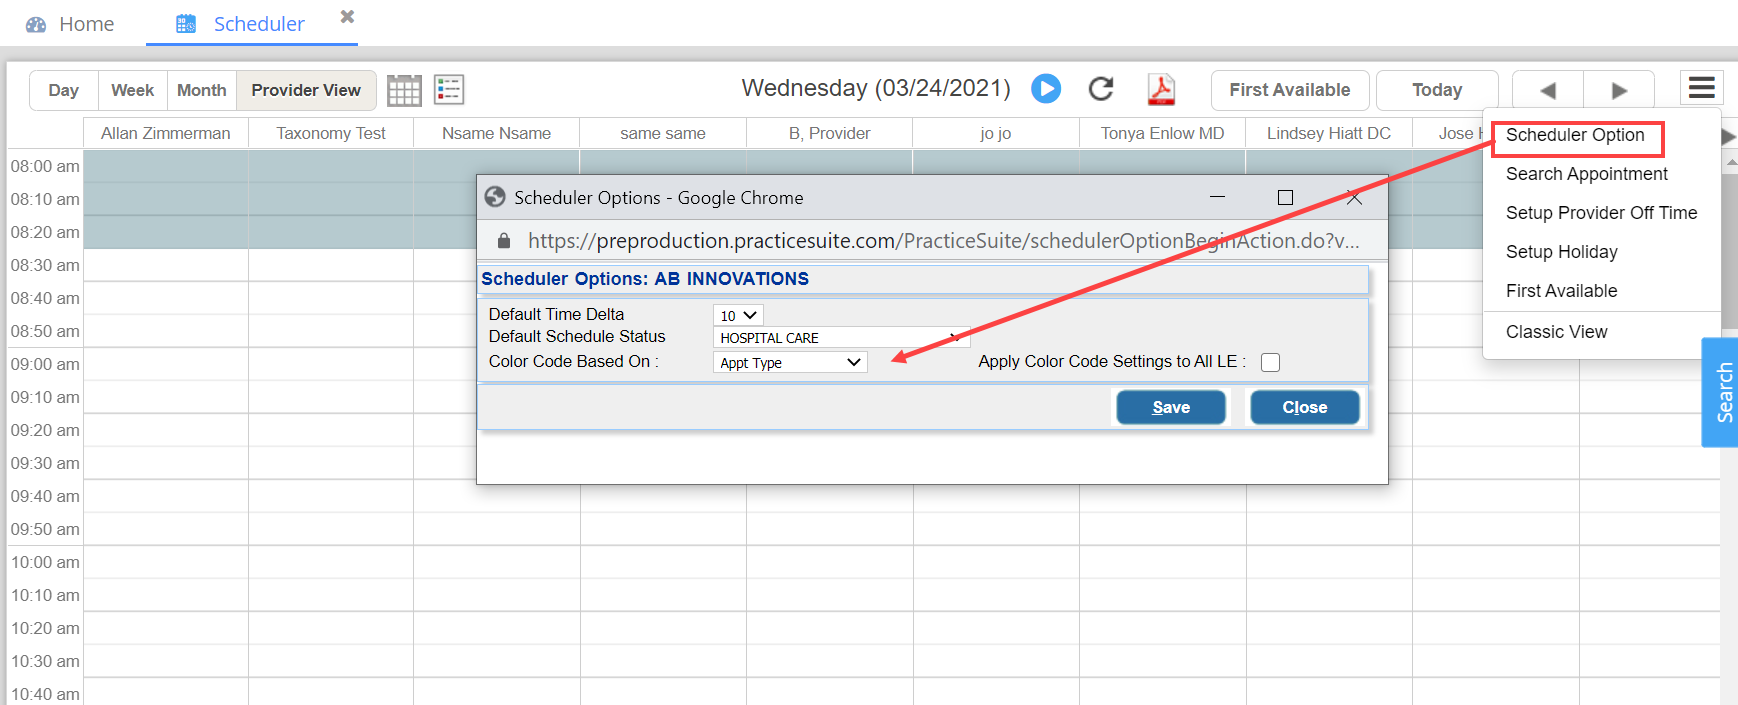
1. From the scheduler option screen, select Appt. status or Appt. type as the default color code. Check the box Apply Color Code Settings to All LE if the color code is to be set for all the legal entities.
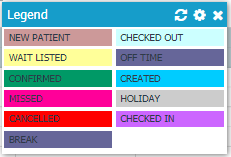
2. The second step would be to personalize colors. The different color codes and the corresponding statuses/types can be found at the Legend ![]() provided at the top of the scheduler screen. Succeeding lines specify how the schedule colors can be personalized according to appointment status/appointment types, though the images shown pertain to color coding based on appointment status.
provided at the top of the scheduler screen. Succeeding lines specify how the schedule colors can be personalized according to appointment status/appointment types, though the images shown pertain to color coding based on appointment status.
2.1. Click on the ![]() icon to open the Legend pop-up. Image 3 shows a sample legend based on appointment status.
icon to open the Legend pop-up. Image 3 shows a sample legend based on appointment status.
2.2. Click on the ![]() icon to open up the configuration screen. A sample Configure Appointment Status screen is shown in Image 4.
icon to open up the configuration screen. A sample Configure Appointment Status screen is shown in Image 4.
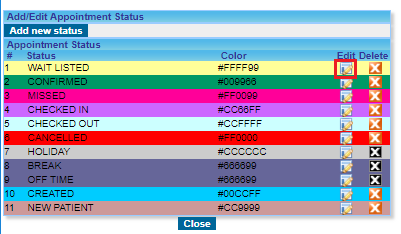
2.3. To change color, click on ![]() corresponding to appointment status/type.
corresponding to appointment status/type.
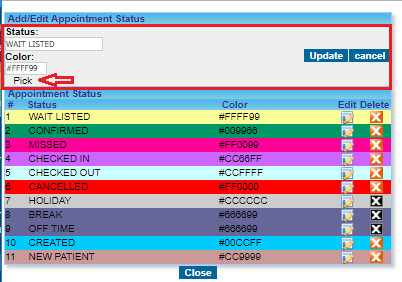
2.4. Click on Pick to change the color of the status/type. The Status/type can also be edited from this window.
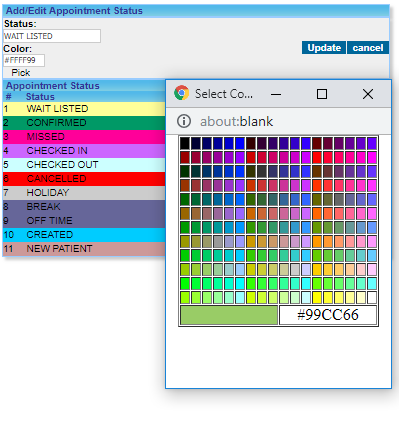
2.5. On the next Select Color window that pops up, click on the desired color and close the color screen.
2.6. Click on Update to save the changes.