Creating or Assigning a Case from the Scheduler
Each appointment must be linked to a case. A case can be created or assigned from multiple locations in the system, including the Scheduler, Charge Entry screen, or Patient Demographics. This section explains how to create or assign a case directly from the Scheduler.
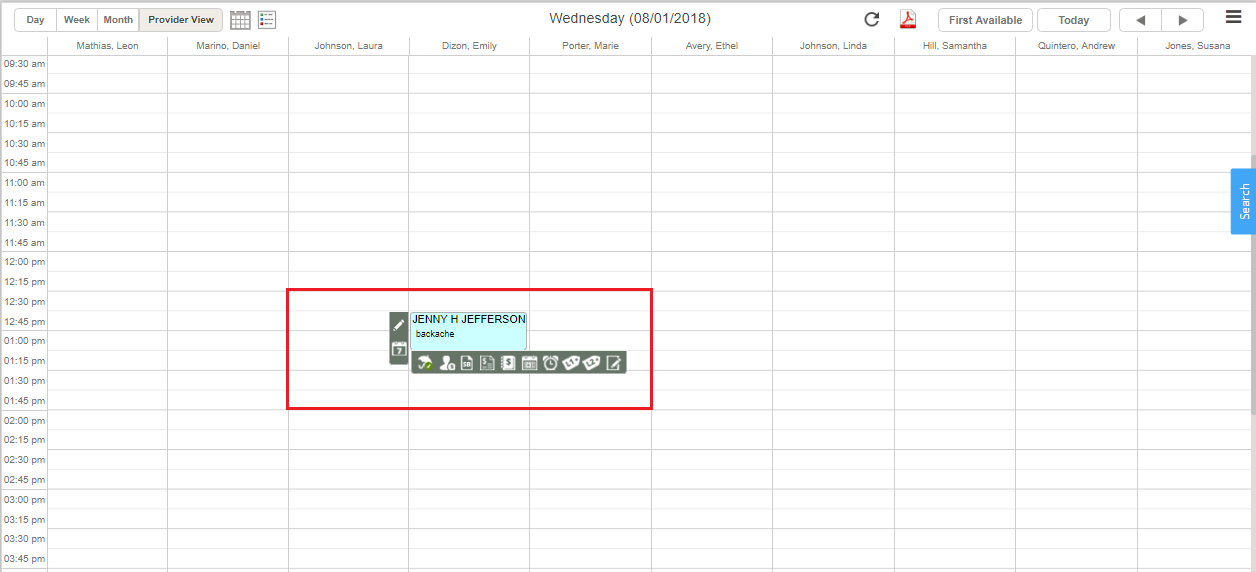
1. To view the Appointment Scheduler window, click the Scheduler module. The Appointment Scheduler window will be displayed as in Image 1.
Click on the ![]() icon to open up the Recurring Appointments window.
icon to open up the Recurring Appointments window.
Method-2
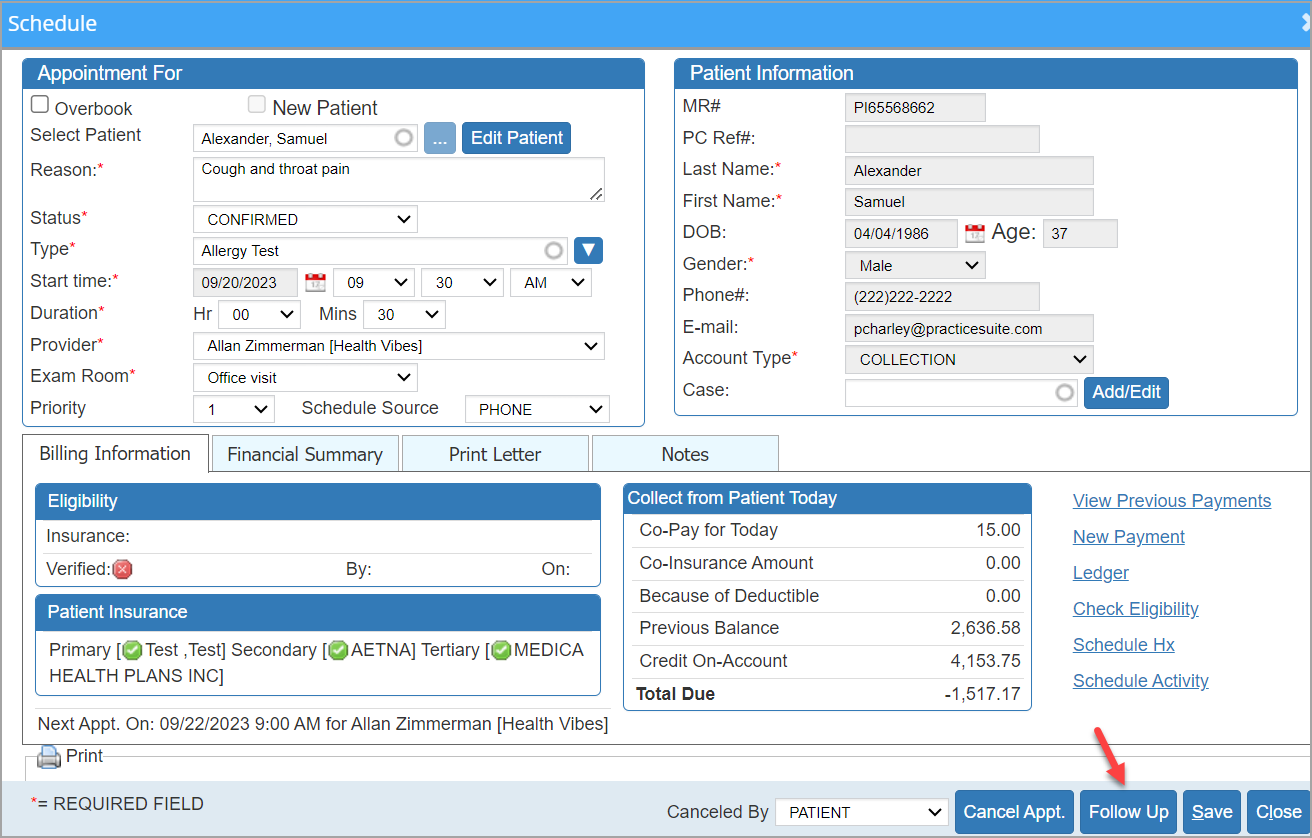
Click the patient’s name in the appointment time slot to open the Schedule Information window.
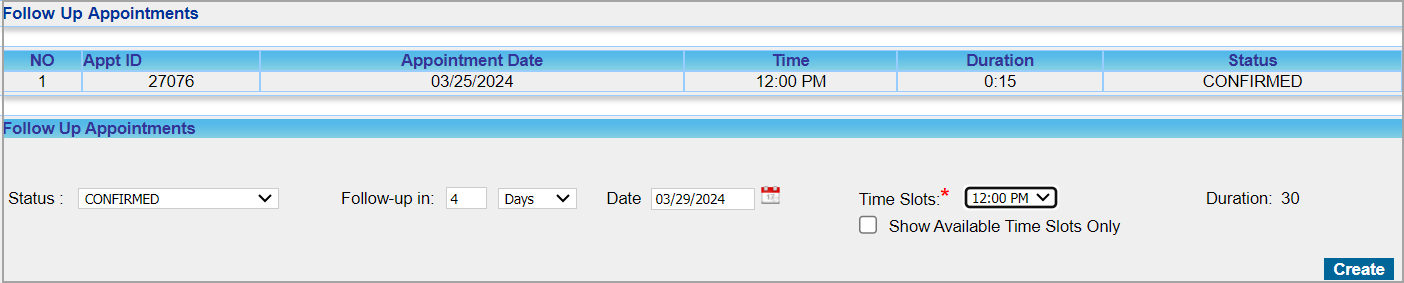
Follow-up Appointment Screen
Users can add a follow-up appointment by choosing one of the two field options:
a. Provide the number in the “Days” field.
or
b. Select a date from the calendar icon.
The follow-up screen will display all time slots booked and available. To exclude all blocked slots and see only the available slots for the selected date, the user can check the box Show Available Time Slots Only. The duration for the follow-up appointment will always copy the duration of the original appointment; however, if users need to modify the duration, it can be done by editing the appointment.